Manufacture
Once the client had concluded the design for the radio shuttle was acceptable, we were able to begin the manufacture of the prototype.
Apart from a few components that were purchased or sourced within the university in a condition which could be implemented immediately, the model was manufactured utilising only university equipment and material sourced in the workshop. We were tasked with becoming familiar with the apparatus at hand to manufacture the prototype in order to operate it all safely and efficiently. Furthermore, at points during manufacture, subtle design changes had to be made to accommodate for the resources available like certain sizes of nuts and screws.
As touched on above, any manufacturing undertaken was completed using apparatus in the university lab. This mainly included the following:
-
Laboratory drill (with multiple drill bit sizes)
-
Electrical saw
-
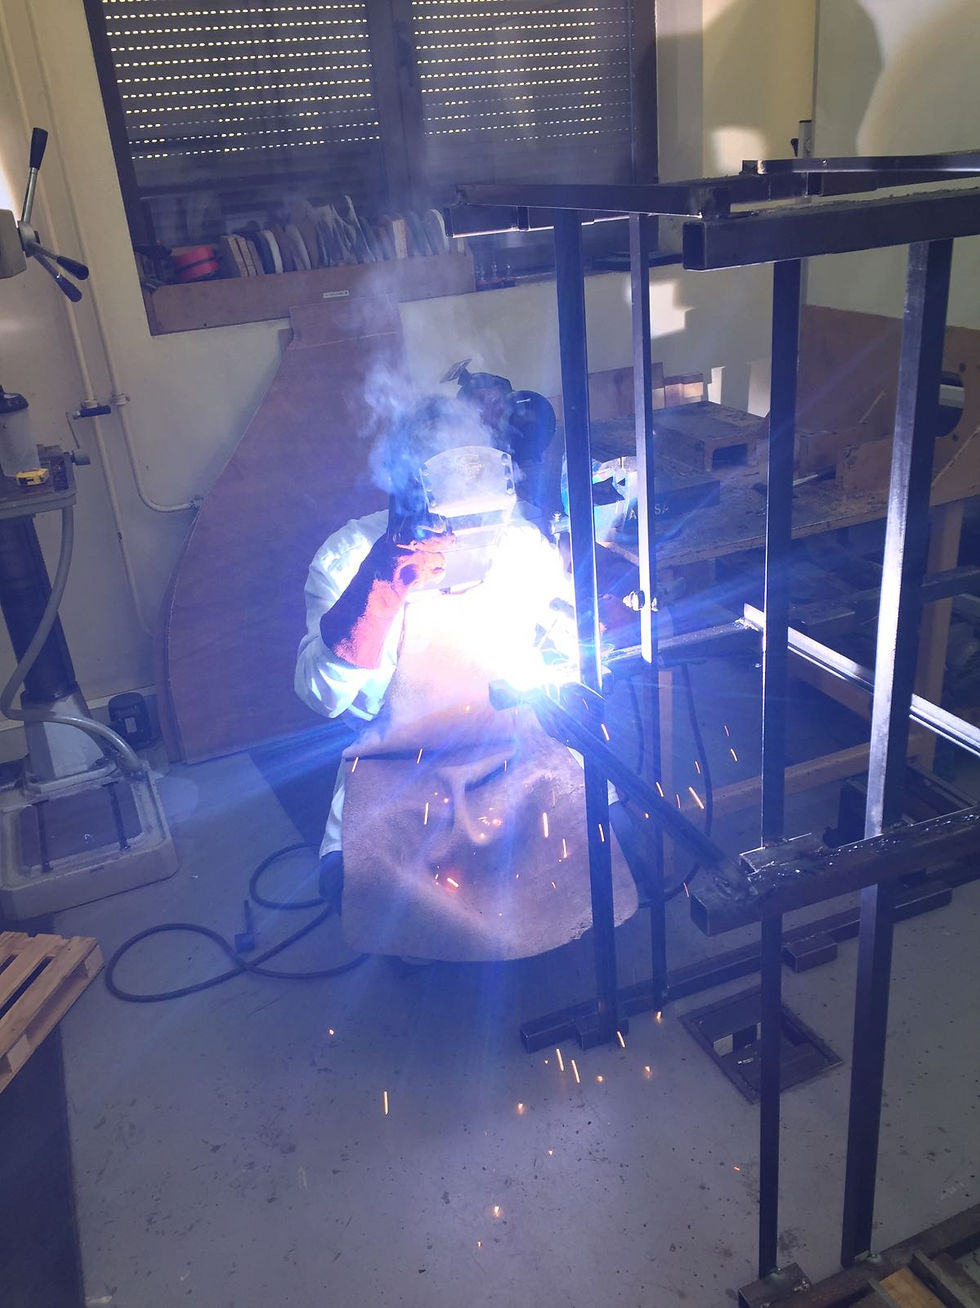
Welding equipment
-
Sanding machine
-
An array of hand tools
Among the most frequently used hand tools during the manufacture of the radio shuttle were files, screwdrivers & spanners, hammers and pliers.
For many components, our Solidworks designs were able to be 3D printed using the universities own printer. This was extremely useful for parts which were perhaps somewhat intricate and would require a relatively high degree of precision when manufacturing. Some components which have 3D parts integral to their individual sub assembly include:
-
Drive system pulley drums
-
Bearings/shaft supports for drive system and lifting mechanism
-
Joints for the 4-bar linkages
-
Filler material pieces for drive wheels, shafts and cam bearings
On a couple of occasions, an experienced lab technician was sought after to assist in manufacturing a component which required a great deal of precision, but the plastic associated with the 3D printer produced parts would not be sufficient. This was the case regarding the "cut" sections at the end of both the drive and lift shafts. Due to the potential for a substantial load placed on the pallet and the resultant forces placed on the shafts, plastic would not be a suitable material solution for them. Therefore a metal shaft was taken to the technician, where a hybrid-manual CNC milling machine was utilised to manufacture the sections appropriately.
Regarding the electrical systems of the radio shuttle, the electrical students had sourced all the relevant components such as the breadboard, wires and micro controller. One of the students owned a soldering iron which was utilised to improve wired connections and the client had provided the team with additional cable due to the length of the shelves constructed.
Throughout manufacturing the radio shuttle prototype, a great deal of emphasis was placed on delivering a model which emulated the 3D Solidworks design as closely as possible. In doing so, the prototype would have the best chance of fulfilling the tasks specified in the project brief.
The technical manager divided the team during the manufacturing process so that every member had a clear idea of which components they were responsible for and in what time scale they had to be produced. This also made the entire manufacture of the radio shuttle an efficient process.
In the gallery below, a few pictures during the manufacturing are displayed.